Scale
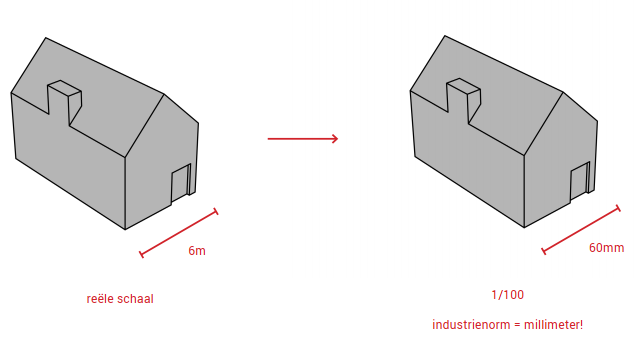
1. Work at the correct scale:
This is the first step. It sounds obvious, but it is often forgotten: scale your 3D model as soon as possible in the process to the scale of the model, otherwise, it becomes difficult to detect errors!
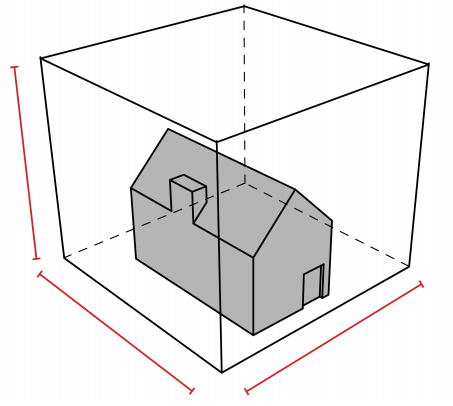
2. Consider the bounding box:
3D printers have a maximum size (typically 200x200x200mm). Check this size early in the process! If you want to print larger models, you will need to split them into parts. Note that it is often not possible to go right up to the edge; a little margin is needed.
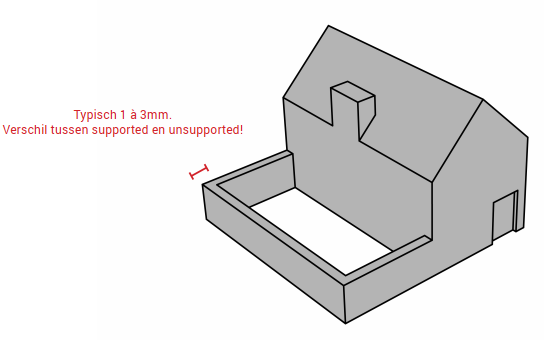
3. Think about minimum dimensions:
You cannot make a 3D model infinitely fine due to the precision of the machine and the strength of the material. Also, remember that you need to apply some force when removing support material, which can easily damage nearby fine parts!
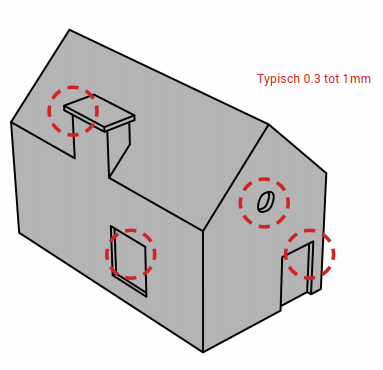
Typical minimum thicknesses:
- Walls: 1 to 3mm, depending on whether they are "stable" (cross-supported, connected to floor and ceiling, or only to the floor, etc.)
- Wires (columns, window frames, etc.): 2 to 3mm, again depending on the situation and proximity of support material
- Embossed detail (niches, depths in facades, etc.): 0.3 to 1mm
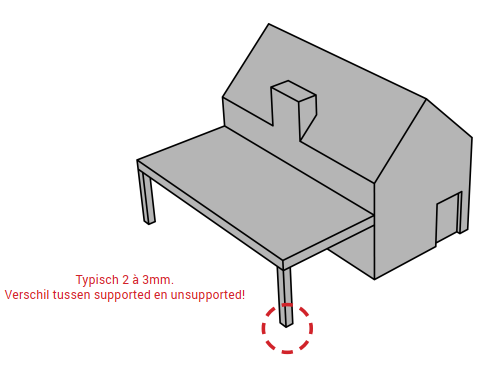
Therefore, it is often necessary to artificially thicken elements to print them! A window frame of 70mm will be too thin at 1/100 or even 1/50 scale. In our examples, window frames are often twice as thick as in reality (and no, don't worry, you won't notice this on a model).
There are no comments for now.
to be the first to leave a comment.